Table of Contents
The First Step to Growing Your Own
Keep your strain alive. Keeping mushrooms stored to preserve their genetic lineage is impractical at best. Making spore prints is a much better way. For one thing, they reduce the chance of contamination during inoculation.
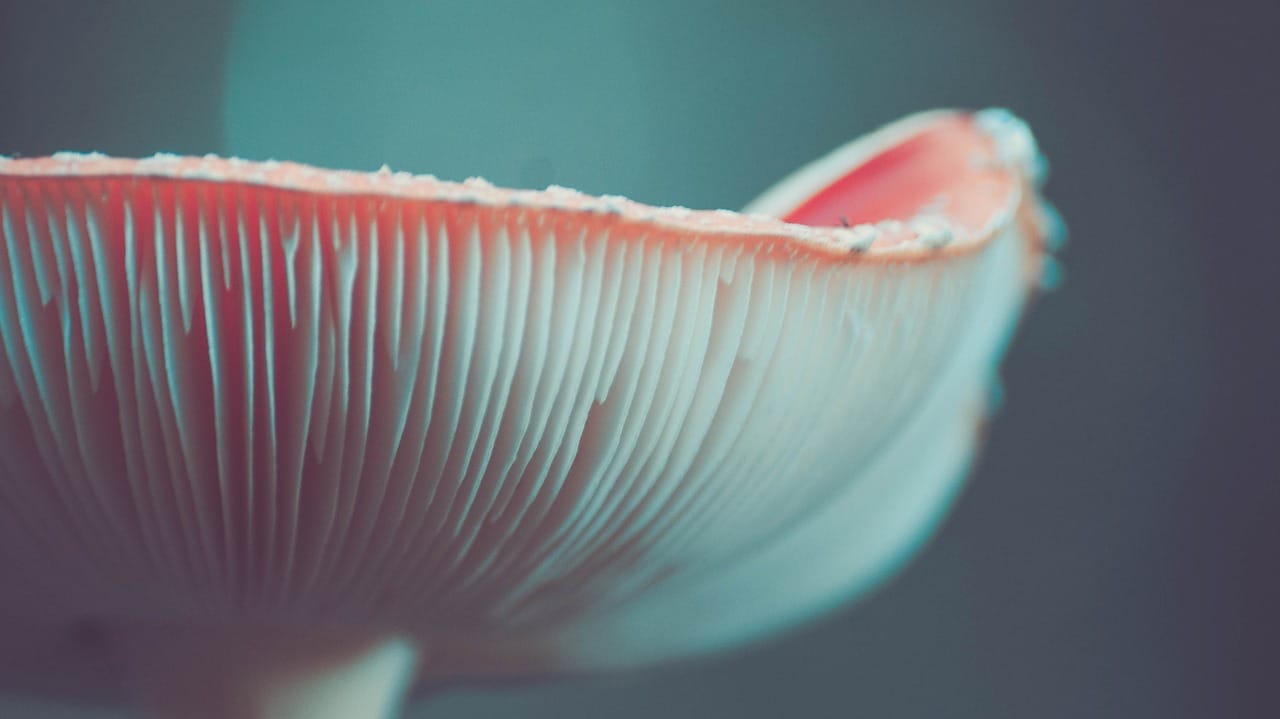
Mushroom spores are the seeds of the mushroom. They are the main reproductive part of the fungi. They are the main way that fungi are distributed, through seemingly haphazard means, whether on animal fur, blown by the wind, or carried on a shoe. Unlike a seed, a spore is a single cell, protected by a hard coating, protecting them from almost any harsh environment. A spore print is a deposit of spores by the cap onto a surface. Spore prints are a great way to record your collection and identify your collection.
There are three ways to propagate mushrooms from spores. You can wash the spores into the water and spread over a substrate, you can make a spore syringe for use in the PF Tek (a mushroom cultivation methodology) or add spores to sterile agar in Petri dishes (an advanced growing technique).
How to Make a Spore Print
If you are a natural stickler for cleanliness, the process for making spore prints is pretty simple. If you do everything you can to minimize contamination. It isn’t easy, even for the experienced. If you are sharing or swapping prints, sterile environments can save you a lot of headaches.
Here’s what you’ll need:
- Zip loc bags (one bag per print)
- A straight edge that can be sterilized
- A scalpel
- Tweezers
- A drinking glass (one glass per print)
- A glass jar
- A flat serving tray
- Alcohol gel
- Sanitizer spray
- Scissors
- Heavy grade aluminum foil
- Magic mushrooms
Here’s what you do:
- The first step is to create your homemade clean room. Chose a small room (like a bathroom– something easy to clean). Start with a deep cleaning and sterilizing. Clean yourself too; a shower, clean clothes, and cleaning your hands with alcohol gel.
- A glove box or airflow hood wouldn’t hurt either.
- Sterilize two 10x10cm squares of aluminum foil (two per print) by putting them in the oven at 250°C for an hour or so and then letting them cool.
- Disinfect the equipment. Use the sanitizing spray on your serving tray, glasses, and tweezers. Also, sterilize your scalpel with either the alcohol gel or gas burner.
- Place half of the foil squares on the serving tray, shiny side up. Place a glass over each square and close the jar with the remainder of the aluminum squares back up.
- Separate the cap from the stem just under the cap, with a scalpel, being careful not to damage the gills. Place the mushroom cap face down on the foil square and set the glass back over it.
- Set the tray in a secure area for 36 hours. In this time the spores will drop from the gills and settle on the foil.
- Return to your project having completely sterilized yourself, your tools, and your work surfaces. Poke the cap with the tweezers, but do not move it, or damage the foil underneath. Lift the cap up and set it to the side (it is still usable).
- Place the tray somewhere safe to dry for 24 hours.
- After re-sterilizing yourself, your equipment, and your surfaces remove the second foil from the jar and place it on a sanitized surface shiny side up. With a straight edge create a straight crease and fold one side up.
- In order to store your print in a cool dark place for it to begin to develop, trim the foil around the print and place it in the folded foil square, butting it up against the crease. Fold it tightly so that the print stays in place. Place that in a Ziploc bag, seal it, and label it.
Make sure that everything is sealed well because mites eat spores and will be after your prints. Hey, this ain’t easy. Realize that spores are pretty tough, but if they aren’t germinated by one year, they probably never will.
For the best magic mushrooms in Canada and the best information, choose Zoomies Canada.


